
Fun with Japanese egg molds
Something fun from the archives, in keeping with Easter. Incidentally, I haven't been able to make any bentos, let alone update Just Bento this week, due to a sudden change of plans, but I'll be back next week with frugal bento recipes and more. So until then...enjoy your weekend!
Egg molds are a fairly easy way to add some cuteness to a bento box. They are meant for kids' bentos, but there's nothing to stop you from using them for yourself of course. I usually can't be bothered to make molded eggs for everyday bentos, but for picnics and parties they are quite a lot of fun.
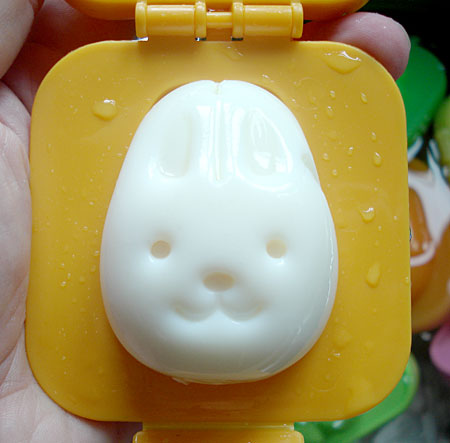
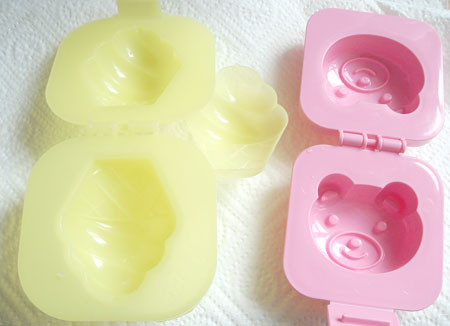
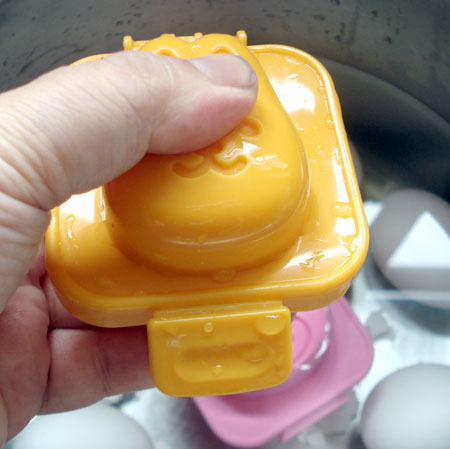
Egg molds are offered by various online sources such as J-List and eBay merchants (see the left sidebar for some listings), as well as at 100 yen stores. There are two types of egg molds: one has a simple clamshell shape with a fastener, and the other has a inner half-shell. You can use the latter kind without the inner half-shell too. Either way, be sure you get one that has the clamshell shape and the closing fastener - these features are what make an egg mold work properly.
What size egg?
The three types of egg molds I have all say to use an "L" size egg. In practice, I've found that either an "S" or "M" size works the best for most molds, though some require an "L". In EU terms you want to get eggs that are either in the 50g or 53g + categories. You may want to experiment with the eggs you can get locally to see what size fits best. Extra-Large and Jumbo eggs, in U.S. terms, are definitely too big though.
How to boil and prepare the eggs
Boil the eggs by putting them in cold water and bringing slowly up to a boil. Once the water is boiling, take off the heat, put on a lid and leave for 8 to 10 minutes.
It is pretty important to ensure that the egg yolk ends up in the middle of the egg, rather than leaning to one side. In order to achieve this you should roll the eggs around while the water is coming to a boil. (Note that this hands-on requirement is one reason why I rarely do this in practice for everyday bentos!)
To peel the eggs cleanly, dunk them in cold water, crack the shell over, and peel carefully. Very fresh eggs are hard to peel cleanly, but you rarely get very fresh eggs at regular supermarkets.
The egg mold instrutions call for a hot egg, which is more elastic than a cold egg, but by the time you've peeled the egg or several eggs, your egg is probably cold. To get around this problem, I dunk the peeled eggs in a pot of hot water to warm up, before proceeding with the molding. This method also works well if you start out with storebought hardboiled 'picnic eggs'.
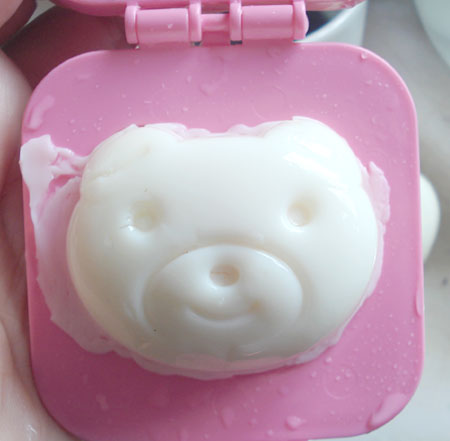
Using a simple clamshell egg mold
Make ready a bowl of cold water. Open up the mold and wet the surface just in case your egg decides to stick (though it shouldn't).
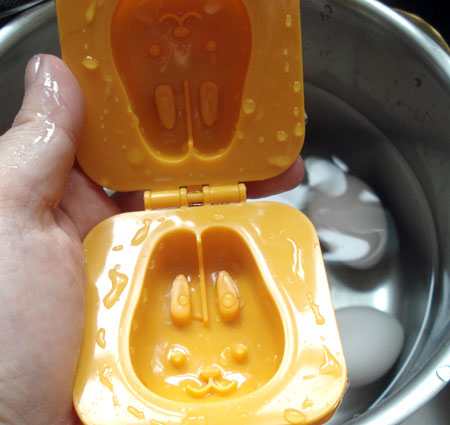
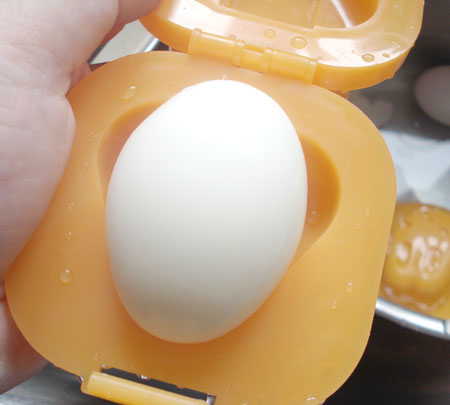
Put in a hot egg. The shape of the mold will guide you as to how to place the egg. Here the bunny face is wider in the bottom, so the fat end of the egg goes that way.

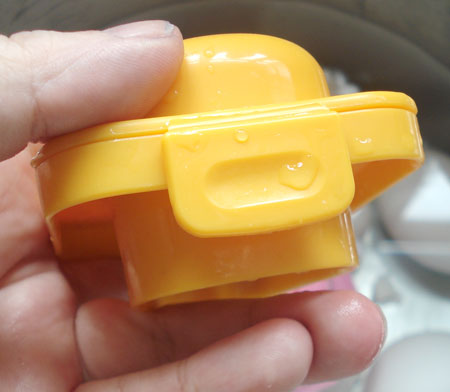
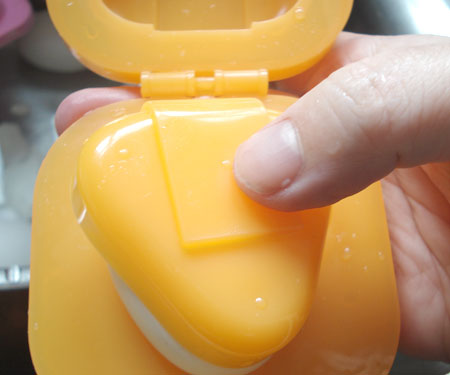
Close the mold firmly - don't hesitate or get nervous if some egg white squishes out at the sides.
Close the fastener until it clicks. Put the whole mold in the bowl of cold water, and leave there for at least 10 minutes.
Using a mold with an inner half-shell
If you have the type of mold with an inner half-shell, first put in the egg as with the simple clamshell type mold.
Put the half-shell over the egg and press firmly. Close the clamshell over it and squeeze. Fasten with a click.
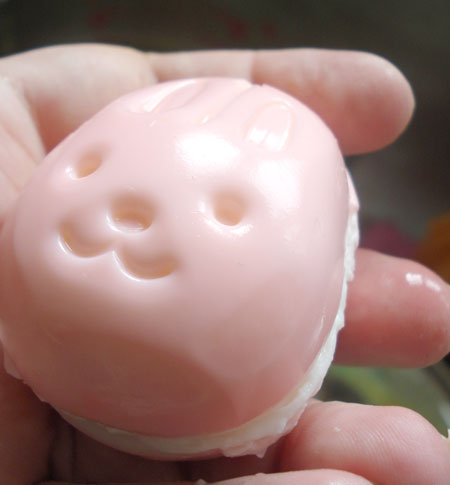
Good, fixable and ugly
This is an egg that came out perfectly. This is the ideal.
This one has some egg white bits that got squished out at the sides. You can clean the ragged bits up with a sharp knife.
This one is a failure. It failed because the yolk was to the side of the egg. I would just chop this up as egg salad.

Coloring eggs
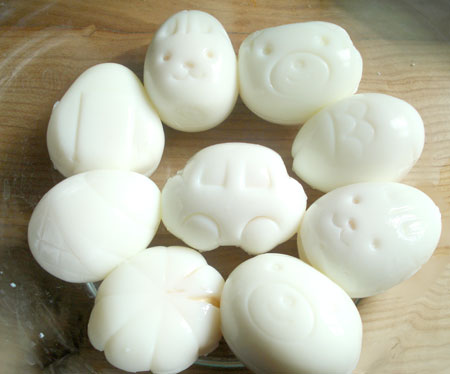
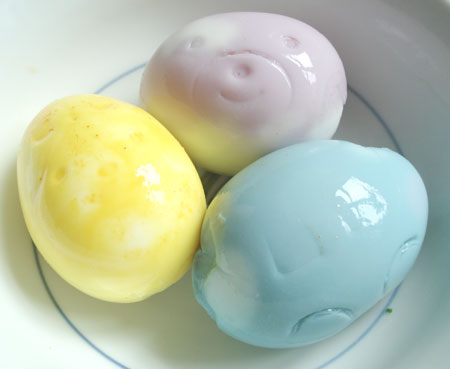
If you want colored eggs that are also molded, you need to add the coloring or dye before molding them. Presuming you are using a liquid type of coloring method (such as dunking the eggs in water with dye in it), if you put the eggs in a water bath after molding, the moisture will cause the eggs to swell back up, losing the molding detail. Here's a bowl of eggs that I tried dyeing after molding - see how they've gone back to their egg shape. (And yes, blue hardboiled eggs are a bad idea, aesthetically.)
So, once you have peeled your eggs, instead of dunking them in plain hot water, put them in colored hot water until they have achieved the color you want. Then mold them as per above. The seam will show white, but the form and overall color are there.
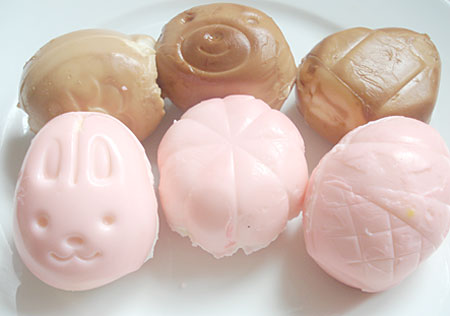
Here's a plate of colored eggs. The three back ones were 'dyed' by rolling them around in soy sauce. The pink ones were dyed in water with 'natural' food coloring added. (You can also try red cabbage juice with a little lemon juice added, for an all-natural dye.)
Personally I prefer the plain white molded eggs - if I am dyeing eggs, I'd keep them egg-shaped. It's up to you though!
What else can you do with egg molds?
You can use them to make small onigiri, as I did for the bunny and cat shaped onigiri here. You could also use them to make chocolate molds, or form any kind of plastic or moldable material. Let your imagination run wild.
If you enjoyed this article, please consider supporting this site by becoming my patron via Patreon.