
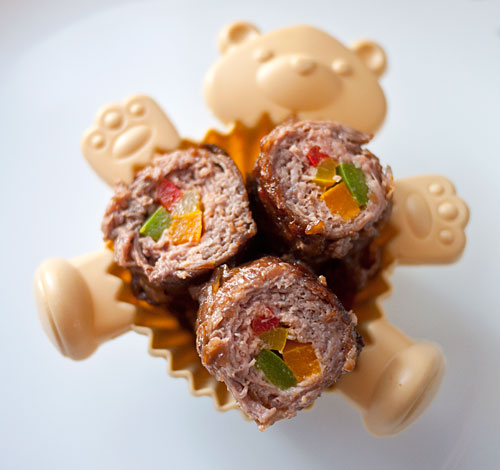
Beef and vegetable rolls (Yasai no nikumaki)
Yasai no nikumaki, or vegetables wrapped in thinly sliced meat, (niku means meat and maki means wrap or roll) is a standby item for bentos in Japan see an example here). They are easy to eat, and the cut sides are colorful and pretty. I haven't given you a recipe for nikumaki so far though on this site because a critical element, very thinly and evenly cut slices of pork (the usual meat used) or beef, is just not easily available in the U.S. or most areas of Europe. If you live near an Asian market you have a better chance of getting a suitable cut - but I know, many readers don't have easy access to such markets.
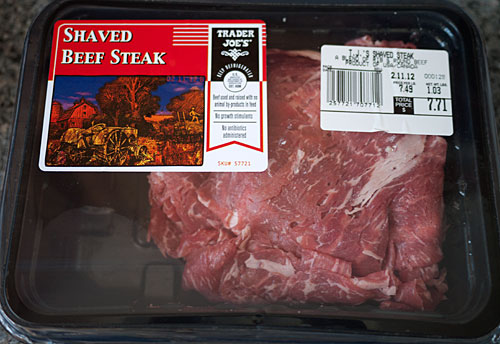
Here is a version that uses a cut of beef that you can get more easily, at least in the U.S. - cheesesteak beef. Philly cheesesteak beef is very thinly cut sirloin or similar quality meat, just as is used in Japanese sukiyaki, and that works great for nikumaki. Trader Joe's sells something called shaved beef steak which works quite well, and is fairly affordable too. Here's the pack I used to make this recipe. 1.08 pounds for $7.71 is not too bad, considering you get 6 to 8 rolls or portions out of it.
So, let's make nikumaki!
Recipe: Yasai no Nikumaki (Vegetables wrapped in thinly sliced meat)
Makes 6 to 8 rolls
- 450g / 1 lb very thinly cut beef sirloin such as cheesesteak beef (see notes about meat alternatives)
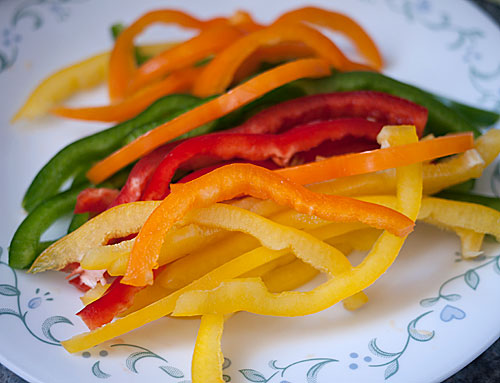
- thinly sliced strips of vegetables - here I've used green, red, yellow and orange bell peppers (see notes about vegetable alternatives)
- salt and pepper
- 4 Tbs. cornstarch (approximate) or plain white flour
- 1 Tbs. cooking oil
- one of the following sauce alternatives
Sauce A: Classic Japanese
- 2 Tbs. dark soy sauce
- 1 Tbs. mirin
- 1 Tbs. sake
- 2 tsp. sugar
- 1 Tbs. water
Sauce B: Soy and pomegranate juice
This is the one I've used in the photos. It has a savory-sweet-tart taste.
- 2 Tbs. dark soy sauce
- 3 Tbs. 100% pomegranate juice
- 1 tsp. lemon juice
- 1/2 tsp. sugar
Sauce C: Barbeque-y
- 2 Tbs. ketchup
- 1 Tbs. Worcestershire sauce
- 1 Tbs. apple cider vinegar
- 2 Tbs. water
- a few drops of Tabasco (optional)
Prep the vegetables by cutting them into long, even thin strips. Here I have used multicolored bell peppers. To get long strips out of peppers, try cutting of the tops and bottoms the cutting them in half lengthwise, then turning the halves 90 degrees, flattening them a bit and cutting the strips out in the horizontal direction of the peppers.
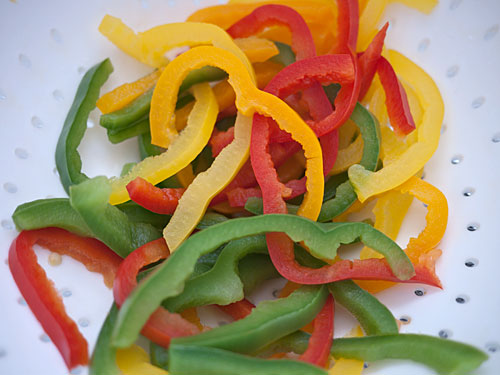
Heat up some water in a pan and toss in the vegetable strips. Blanch them until crisp-tender. For the bell peppers that just takes about 3 minutes. Drain and let cool.
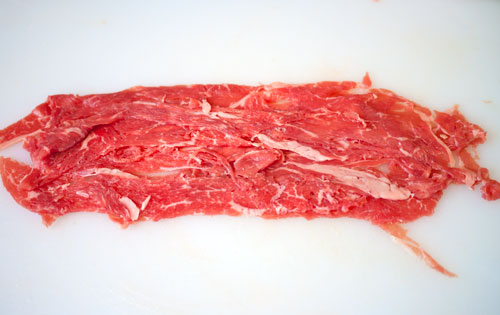
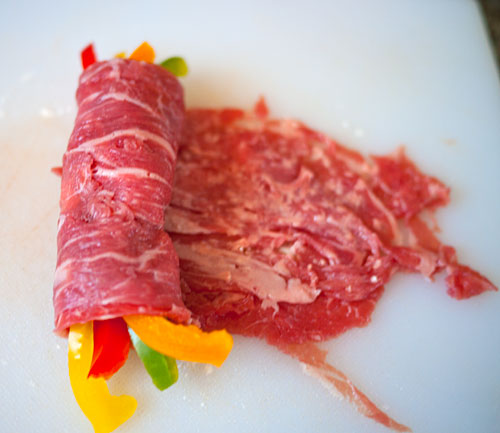
If you're using the Trader Joe's 'shaved beef steak' or similar, this part is a bit tricky since the bits of beef are rather scraggly.

The key is to lay out the bits of thin beef in a fairly even layer, leaving no gaping holes, so you end up with something that looks like one piece of beef, like so. If you have more uniformly shaped slices just lay down one or two slices.
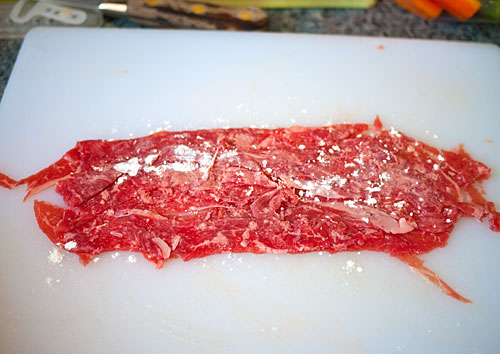
Sprinkle very lightly with salt and pepper (don't overdo it - remember you'll be adding a savory sauce later) then a bit of cornstarch. The cornstarch will help to hold the meat together.
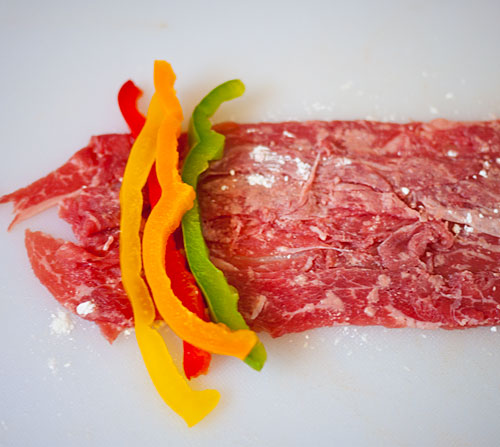
Now, lay some strips of your precooked vegetable on one end.
Start rolling up the beef around the vegetables as tightly as possible, tucking in any straggly ends as you go (a bit tricky, again, with that TJ's beef, but it can be managed).
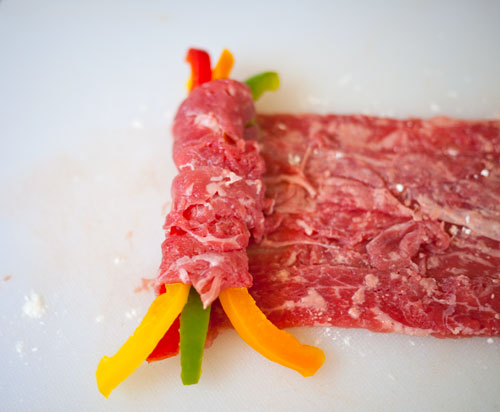
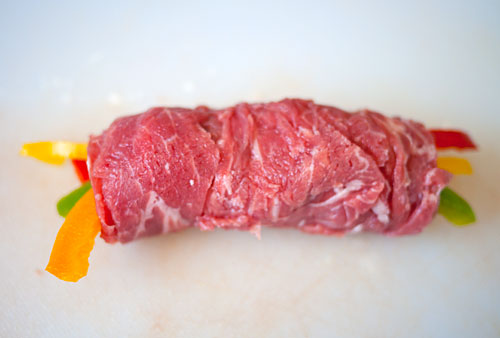
Keep rolling tightly...it helps to pull a bit on the unwrapped end of beef with one hand as you wrap with the other.
End the wrapping with the end bits on the bottom. Now, some directions for nikumaki say you should poke the roll through with a toothpick to hold it together, but I don't find this necessary as long as you manage to wrap the meat quite tightly, and you follow the cooking instructions that follow.
Coat the surface of the roll lightly in more cornstarch. Again, this helps to keep the roll together and also thickens the sauce a bit.

(Not pictured) Mix the sauce mix of your choice in a small bowl, and have ready to go next to your cooktop.
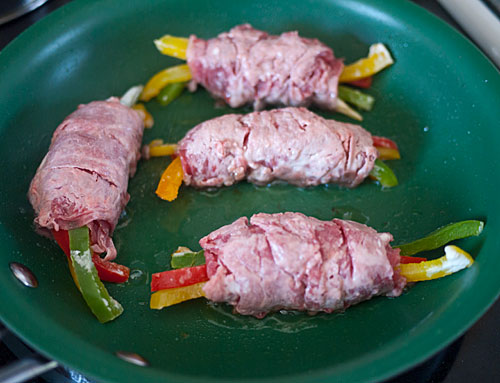
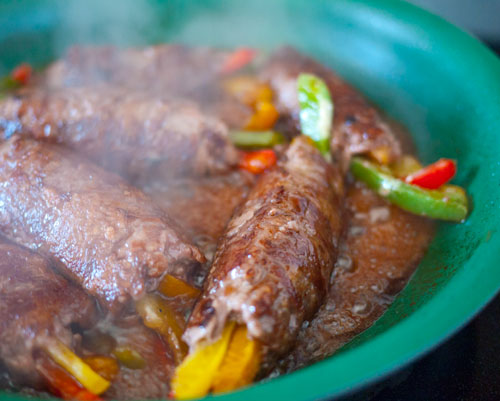
Heat up a frying pan with the cooking oil over medium-high heat. Put the rolls in seam side down This is important - if you start with the seam sides up the rolls will fall apart. Put the rolls in in batches if needed - you should have plenty of space around them so you can turn them easily. (I did mine in 2 batches.) Cook the rolls until the seam side is browned and sealed.
Turn the rolls and brown them on all sides. Looks yummy already!
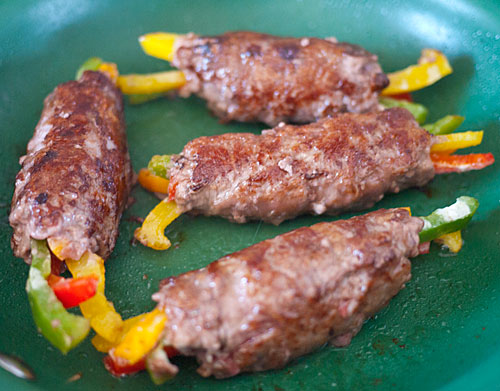
Add the prepared sauce mix to the pan - careful, the pan may spit at you a bit. Turn the rolls around in the sauce a few times so the sauce coats them. Keep cooking until the moisture in the sauce mix has almost evaporated and the sauce is quite sticky.
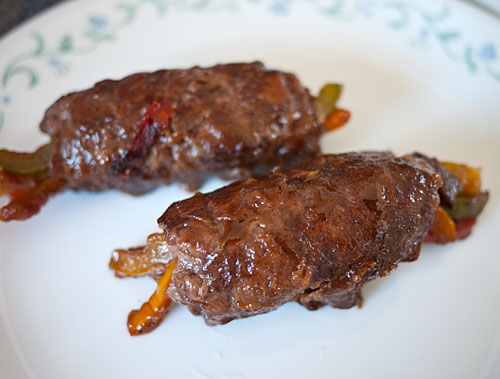
Take the rolls out of the pan, and let cool.
You can use the rolls whole like this of course and they still look good.
Or, cut them to reveal the mosaic-like cut surface. My slices here are a bit shaggy (I blame this again on that TJ steak) but not too bad. Allow 1 to 2 rolls per bento.

Tip: Chop up the scraggly end bits of the rolls and hide them under your cut rolls!
Freezing
You can freeze nikumaki very successfully. Wrap each uncut roll in plastic wrap, then put the rolls in a freezer bag or container. They'll be good in the freezer for a month. Take them out and transfer them to the refrigerator the day before you need them, and slice them through while still half-frozen. That will give you very neat cuts.
Meat alternatives for nikumaki
The meat really has to be paper thin, not escalope-thin.
As mentioned above, you can find very pre-packaged, thinly sliced pork or beef at most Asian (Korean, Japanee, Chinese) grocery stores.
If using beef, you do need to use a quick-cooking cut like sirloin or filet. Ask your butcher if he/she can slice the meat very thinly for you, or try it on your own with a half-frozen piece of meat.
Raw meat is preferred, since thinly sliced precooked meat such as ham may not stick together properly. See ham negimayaki, which is made with very thinly sliced ham. Cured, uncooked ham like proscuitto will work better, though you will have to compensate for the saltiness.
I would not recommend using chicken or turkey meat since these meats may get too dry.
Vegetable alternatives
You can wrap all kinds of vegetables in the meat. The key is to have vegetables that are sliced to the same width, or are already like that, and to make sure the vegetables are tender enough by pre-cooking or slicing very, very thinly before wrapping.
- Thin green asparagus stalks with carrot sliced to the same thickness as the asparagus. Blanch both the carrot and asparagus (start with the carrot, then add the asparagus) until crisp-tender.
- Enoki mushrooms with the root parts cut off can be used as-is.
- Green onion or negi. Slice lengthwise very thinly, and/or blanch lightly before wrapping. Green onion wrapped in beef is a pretty common item on Japanese restaurant menus - you may see it called negimaki or negima for short.
If you enjoyed this article, please consider supporting this site by becoming my patron via Patreon.