
How to: Make a furoshiki and matching bento belt
(A terrific tutorial from the Just Bento forum!)
Furoshiki are a traditional Japanese wrapping cloth. They come in lots of sizes and are used for wrapping gifts, treasures, and bentos. As a bento wrapping they are extremely handy, because in addition to keeping your bento together (if you don't have a belt), and mopping up any small spills of wet stuff that may escape your box on the way to work, they transform into a small tablecloth or napkin when you unwrap your lunch.
Furoshiki come in various fabrics, including silk, but for wrapping my lunch I like cotton. It's absorbent (for mopping up those wee spills) and I can chuck it in the washing machine when I get home from work. It doesn't need any special care.
I get fabric for making furoshiki from the quilting supplies shop; they sell 100% cotton fabric in 50cm x 50cm (20" x 20") squares called fat quarters that are a perfect size for bento furoshiki. They also have amazing patterns! [Note: Our fat quarters are a quarter of a metre. In America they are quarter of a yard, so will be the same width but an inch and a half or so shorter.]
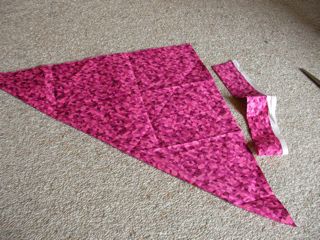
Fold your fabric diagonally and trim it up so its sides are straight. Traditionally furoshiki are slightly rectangular rather than square, so don't fret about the sides being the same length. You need to cut off a piece about 4 cm (1.5") wide (or 3 x the width of some elastic you have) from one side to make the matching belt.

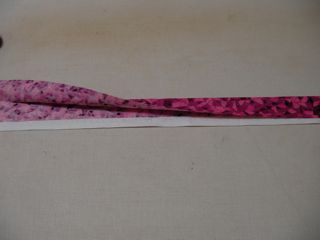
Fold the strip in half longways and iron in a crease.
Put that aside for the moment, and start on the furoshiki. Fold the edges over about a cm (1/3") and iron them
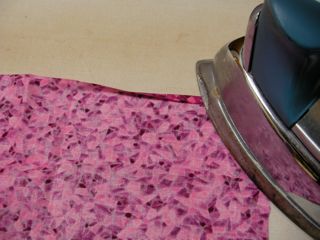
Then fold them over again and iron
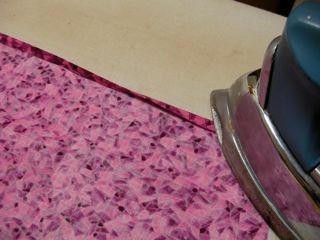
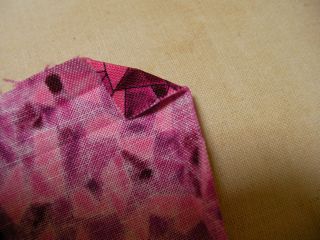
Unfold everything and look at the corners - you should see a criss-cross pattern of creases where the folds have overlapped

Fold diagonally at the outermost crease intersection and iron
Then fold again at the innermost one - this should be pretty much where the original corner has ended up
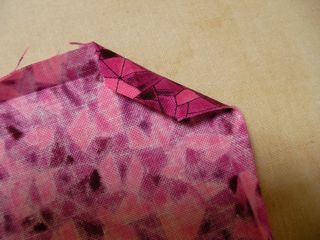
Now, keeping these new folds in place, fold the side folds back again and iron the corner down
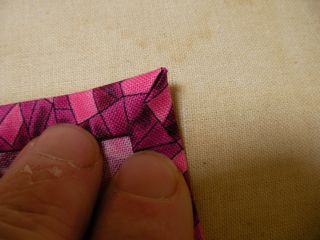
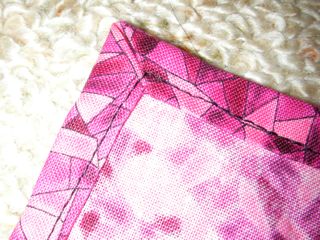
Repeat for each corner.
Sew around the whole thing with your sewing machine, or by hand if you don't have one - this would be good hemming practice for a child!
Now back to the belt.
Get your ironed-in-half strip of fabric and cut off a piece that is about 5 cm (2") shorter than the circumference of your bento box
And cut a piece of elastic just big enough to fill the gap. The amount of material taken up by seams will make it enough smaller that it will need to be stretched on
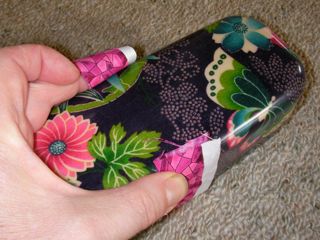
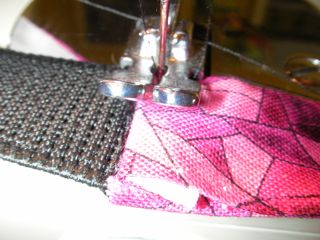
Line up one side of the elastic with the edge and the ironed fold on the right side of the material and sew it securely (two or three times back and forth)
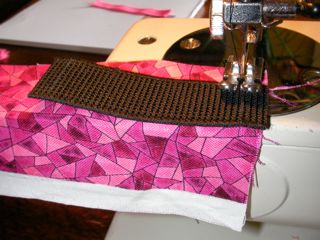
And do the same with the other end

And no, I shouldn't be using my zipper foot, but I am.
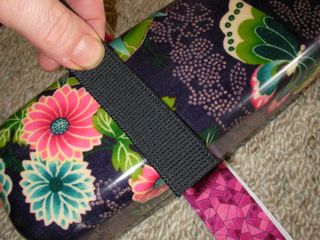
Now iron the sides of the fabric in, in line with the other edge of the elastic

Then sew all around the edges of the fabric, all sides turned under, being careful to catch both of the folded in edges together when sewing down that side.
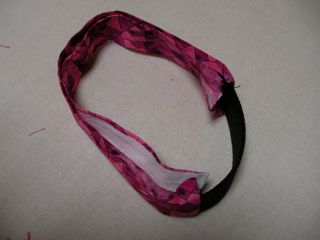
And there you have it.

A furoshiki with matching bento belt.
I've run out of space for photos or I'd show you how to tie it, but that link to furoshiki.com at the top has instructions. You want the "basic wrap".
If you could manage to find fabric with a diagonal pattern you would have a nice effect on the hanging furoshiki corner, and something appliquéed or embroidered would look great. I've made a couple from cushion panels too, they have more of a picture than an allover pattern.